Detect Small Concentrations of Harmful Substances

Ensuring Compliance with RoHS by Using the X-Ray Fluorescence (XRF) Method

It is critical for manufacturers and distributors of many products to be able to detect harmful substances. Various regulations, such as RoHS (Restriction of Hazardous Substances), DIN EN 71 (Safety of Toys Standard) and CPSIA (Consumer Product Safety Improvement Act), specify maximum permissible values, particularly for heavy metals.

For example, the RoHS limits concentrations of lead (Pb), mercury (Hg), hexavalent chromium (Cr VI) and bromine compounds (PBB, PBDE) to 1000 ppm, while the limit for Cadmium (Cd) is just 100 ppm.

X-ray fluorescence instruments with silicon drift detectors, such as the FISCHERSCOPE® X-RAY XDV®-SDD, are exceptionally well suited for easy, non-destructive determination of these harmful substances in a wide range of products.

PLASTICS ALUMINUM/ CERAMICS BRASS STEEL SOLDER
2 ppm 6 ppm 50 ppm 30 ppm 60 ppm
Housing cable sheathing, PCBs Housing, SMD components Plug contacts Housing Solder points, bailed samples
Permissible limits: RoHS: 1000ppm
DIN EN 71: 90ppm
CPSIA: 100ppm

Detection limits of Pb in various materials/components measured using the FISCHERSCOPE® X-RAY XDV®-SDD compared to the limit values of various regulations.

WinFTM®, FISCHER’s powerful analysis software, includes a mode specifically developed for RoHS analysis which provides for automatic evaluation of adherence to limit values.

Thus, compliance with legal requirements can be verified quickly, with typical measuring times of 60-300 seconds.

The FISCHERSCOPE® X-RAY XDV®-SDD.

Table 1 illustrates the detection limits for Pb in various materials using the X-ray fluorescence method. While direct measurement is possible for Pb, for Cr and Br only total concentrations – not the exact concentrations of the harmful compounds – can be determined. Compliance is established when the total concentration is below the limit values, otherwise additional analysis methods must be employed. The required detection limits can also be met for other heavy metals as well, such as Cd, Hg, As, and Ba.

Your local contact person for FISCHER products will be happy to assist you in selecting a suitable X-ray fluorescence instrument for measuring very small concentrations of harmful substances – FISCHERSCOPE® X-RAY XDV®-SDD, XAN® 150 with SDD detector, or XDAL® with PIN detector.

HIGHLY POWERFUL EDXRF

Explore Further

Precise measurements of extremely thin coatings (as low as nanometers) on complex geometry small and large samples. Ideal for PCB & ROHS

Determine Mechanical Properties of Bronze Foils and Strips

Bronze foils/strips are used for a huge variety of industrial applications, ranging from electrical contacts and membranes to spring elements and switches. The processing industry requires CuSn6 foils with more and more specific characteristics, e.g. significantly higher mechanical load-carrying capacity. To guarantee consistent quality, the mechanical characteristics of the foils must be determined.

The mechanical characteristics of thin metal foils can be determined using the instrumented indentation test (according to DIN ISO 14577). For this purpose the foils are affixed onto a smooth and stable surface. However, if the foil is applied unevenly or if an air bubble is trapped underneath it, the foil will bend while being measured, causing a false measurement of the indentation depth by adding an additional elastic but inconsistent percentage to the measurement result.

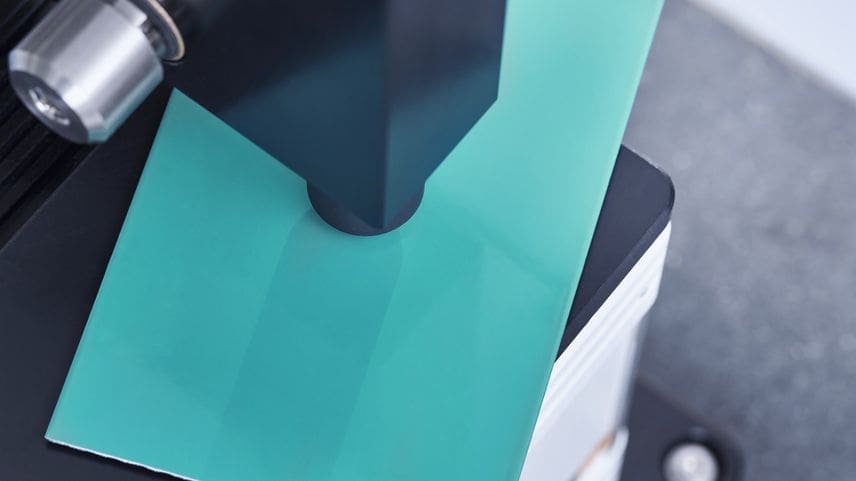
With the special foil clamping device from FISCHER, thin metal foils up to 200 µm in thickness can be easily braced over a cylinder, avoiding any critical fixation.

Foil clamping device for securely holding thin plastic or metal foils.

The mechanical properties of thin metal foils can be determined precisely and conclusively with the instrumented indentation test. For this purpose FISCHER provides the measuring system FISCHERSCOPE® HM2000 and a foil clamping device for optimal sample preparation. For further information please contact your local FISCHER representative.

FISCHERSCOPE® HM2000 AND HM500 NANOINDENTERS

Explore Further

Automatic and manual stage Nanoindenters with the load range of 0-2,000mN

Nanoindentation on Intermediate Layers in Thin Foils

Measuring the true mechanical properties of micron-scale intermediate layers in thin multilayer foils – without influence from the surrounding layers – is a challenge that very few instruments can meet. It takes highly responsive nanoindentation technology and very precise positioning of the indenter.

Determining the hardness and elastic characteristics on the intermediate layers of multiplex foil systems presents several challenges. A normal “top-down” style indenta-tion will yield composite properties for the entire sample, but not those of the individual layers, which requires measurements to be performed within each layer on a cross-sectioned sample. Due to the thinness of these layers, it is crucial to control the measurements precisely and to use extremely small indentations. Fortunately, nanoindentation technology, employing indents on the micron and nano scale, now allows hardness and elastic modulus measurements even on thin interior layers. Coupled with a high magnification microscope and a very precise positioning stage, nanoindentation is ideally suited for testing micron-scale components and films.

In this example, a 30 µm thick metallic foil sandwiched between a polymeric sheet and a rubberized top coat is analysed. Because the free-standing sample was not structurally rigid, to minimise sample compliance the part was mounted in epoxy and polished to a mirror finish to expose the metallic inner layer as cross-section.

The PICODENTOR® HM500 was chosen for this test due to its sensitive load resolution (≤100nN) and precise positioning capability (≤0.5µm). The values for indentation hardness (HIT), Vickers hardness (HV) and indentation modulus (EIT) were recorded for the metallic layer. The Martens hardness (HM) was measured as well and plotted as a function of indentation depth; variation in HM is an indicator of potential influence from surrounding layers. The cut edge of the metallic layer was identified under the integrated microscope (with magnification up to 1000x) and a series of indentations were made – located precisely in the centre of the 30 µm thick target layer.

Indents performed precisely at the centre of cross-sectioned layer.

The graph shows reproducible load-displacement curves from each indent in the picture above.

METALLIC LAYER HM N/MM² EIT/(1-VS²) GPA HIT N/MM² HV
X 4734.2 151.8 6961.9 657.8
s 223.9 8.8 263.6 24.9
V 4.7% 5.8% 6.0% 6.0%

Mean value X, standard deviation s, and coefficient of variation V of mechanical properties measured from the indents in Fig. 2.

With its ultra-sensitive measuring head, high-resolution microscope and precise stage, the PICODENTOR® HM500 makes it easy to accurately determine the hardness and elastic properties of micron-scale features, like cross-sectioned foils. For further details please contact your FISCHER representative.

FISCHERSCOPE® HM2000 AND HM500 NANOINDENTERS

Explore Further

Automatic and manual stage Nanoindenters with the load range of 0-2,000mN

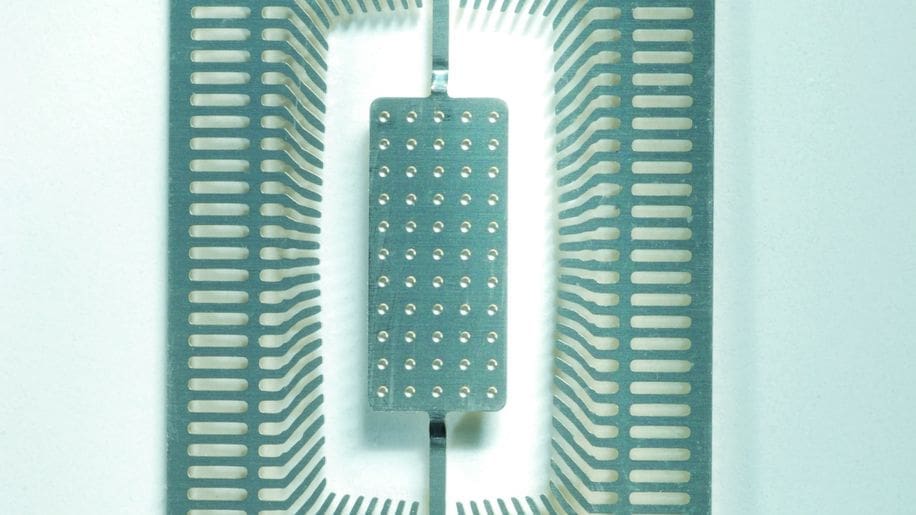
Measure Thin Gold and Palladium Coatings on Leadframes

As the electronics industry makes use of ever thinner coatings, manufacturers increase their demands on measuring technologies to provide reliable parameters for product monitoring and control. The coating system Au/Pd/Ni is frequently used in the electroplating of leadframes, with CuFe2 (CDA 195) as substrate material. Typical coating thicknesses are between 3-10 nm Au and 10-100 nm Pd. For monitoring the quality of these coating systems, X-ray fluorescence instruments have established themselves as the measurement method of choice.

A series of comparative tests employing other physical measurement methods was used to determine the capabilities of X-ray fluorescence instruments within the mentioned ranges. Sample specimens were measured with the X-ray fluorescence method using the FISCHERSCOPE X-RAY XDV-SDD model, Rutherford backscatter and absolute, synchrotron radiation based X-ray.

High-resolution measurement of an Au/Pd/Ni coating system on a leadframe and presentation of the results with the analysis software, WinFTM®.

For Au coating thicknesses of about 4, 6 and 9 nm, the results from the X-ray fluorescence instruments were all between the two other methods, with deviations in the sub-nm range, confirming not only the low scatter but also the trueness of measurements using X-ray fluorescence instruments. Traceability of the measurement results is ensured by using the FISCHER calibration standards developed specifically for this measuring application. The simple handling of X-ray fluorescence instruments also allows for easy scanning of a specimen to determine the homogeneity of the coating thickness, if required (see Fig. 2).

A series of comparative tests employing other physical measurement methods was used to determine the capabilities of X-ray fluorescence instruments within the mentioned ranges. Sample specimens were measured with the X-ray fluorescence method using the FISCHERSCOPE X-RAY XDV-SDD model, Rutherford backscatter and absolute, synchrotron radiation based X-ray.

Lateral coating thickness distribution of a specimen coated with only a few nm Au.

The combination of state-of-the-art detector technology and the powerful analysis software, WinFTM®, allows for reliable, accurate measurements of coating thicknesses even in ranges below 10 nm. For use on leadframes, the FISCHERSCOPE® X-RAY XDV®-SDD instruments are recommended for relatively normal-sized specimens; for very small structures, the XDV®-µ model, with its special X-ray optics, ensures a very small measurement spot of only 20 µm on the specimen.

SMALL SPOT EDXRF μ ANALYSERS 

Highly powerful polycapillary optics EDXRF analyser for extremely small spot measurements in micron range on small components and structures